 EAA Chapter 430
Project Update
Open the PDF at page 5 See the whole July 2020 issue
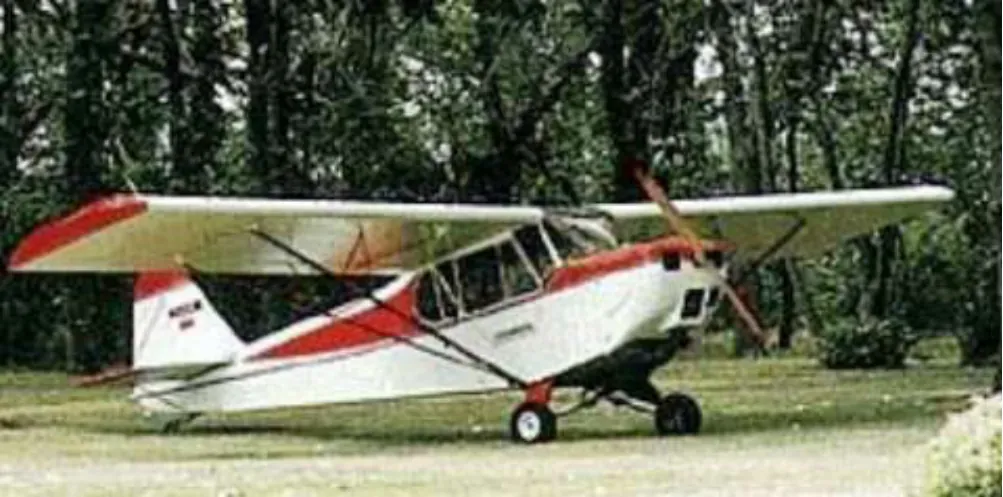 (opens a larger view)
My project is a high-wing Fisher Super-Koala on conventional gear. While I haven’t a clue why the designer named his creation after a small animal that lives in a tree, I can still take comfort that the plane’s basic construction mimics that of the Vickers-Warwick and Wellington Bombers of WWII. Thanks to the lightweight wooden geodetic construction, a completed Super Koala (SK) typically weighs in around at a paltry 400-450lbs. Pulled by the standard 52hp Rotax, takeoff is possible within 200ft. Climbout with pilot and passenger aboard would likely be around 500-600 fpm. I’m expecting my plane to cruise at around 55mph, with full-stall landings at or under a comfortable 30mph. Note that SK performance numbers I’m offering here reflect my own experience combined with that of current SK owners.
The Fisher design evolved long before C&C precision-cut and shaped airplane kits hit the mainstream, and the Super Koala continues to be offered as either plans-only or in kit form. My project officially began when I answered a private ad for a “partially built” plane located in Fairbanks AK. What actually arrived was a set of plans, a jig for wing ribs, and a large crate of spruce and birch lumber. Since that humble beginning, building progress stuttered somewhat as my wife and I updated several old houses, changed careers, and cared for aging parents.
Fisher plans are supplied full-scale, enabling layout and assembly right over the appropriate print. The system works, although organizing and paging through a stack of 16’ drawings requires a large room and works best if the family dog is willing to nap in another part of the house. The wings and fuselage structure for my plane were built in the single car garage at our first house. Space was tight, such that a completed assembly had to be winched up to the rafters before starting the next segment of the project .
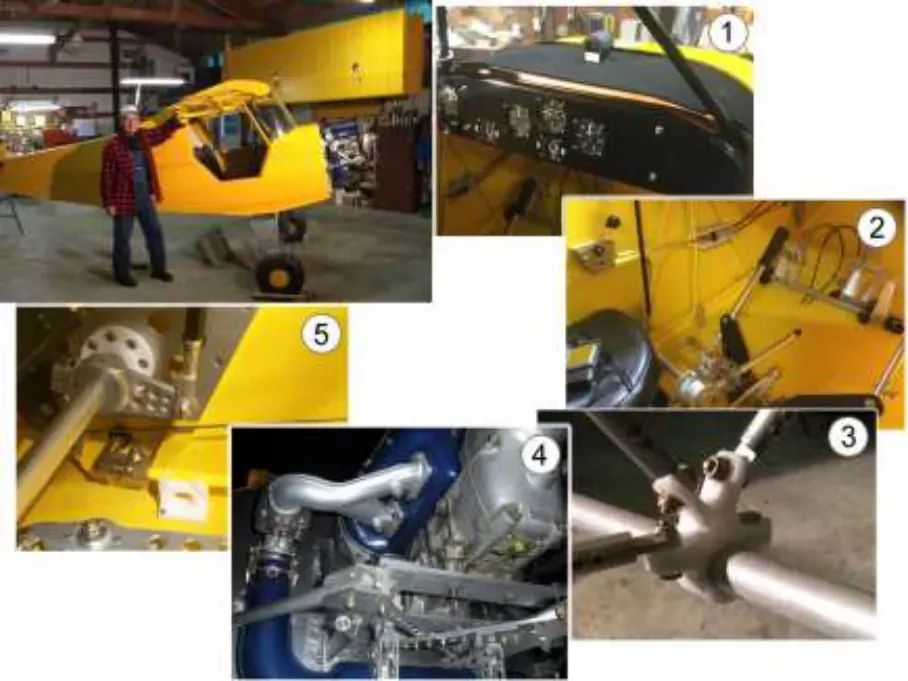
The fuselage was the last major assembly, and seeing it on the gear was a major boost to my motivation. Those of you who have already built will know, of course, that completing an airframe is only the beginning!
Fisher’s approach to controls and general hardware was a bit too casual for my tastes. As luck would have it, my need for hardware coincided with a new employer’s requirement for CAD classes. My new-found CAD experience led me to purchase a small digital milling machine, and I soon became my own go-to manufacturing source for all manner of small parts and assemblies for the plane. Learning and working in 3-D is great exercise for your brain. With my CAD work going straight to the vise on my mill, I soon learned volumes about the difference between drawing what’s cool vs. drawing something that can actually be manufactured.
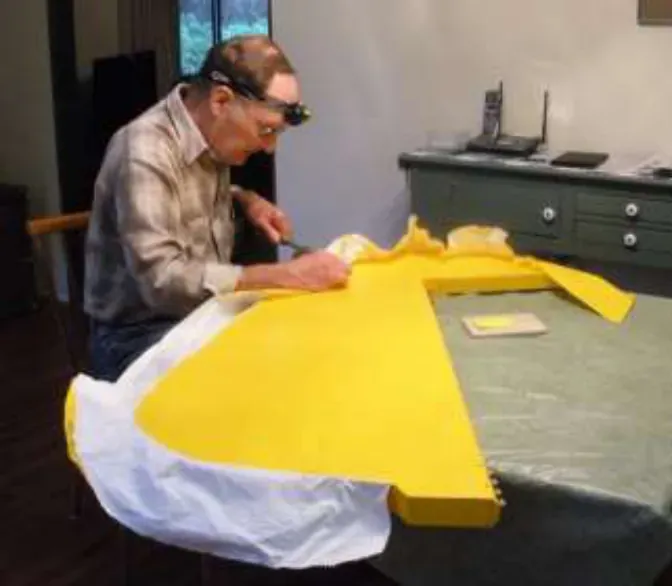
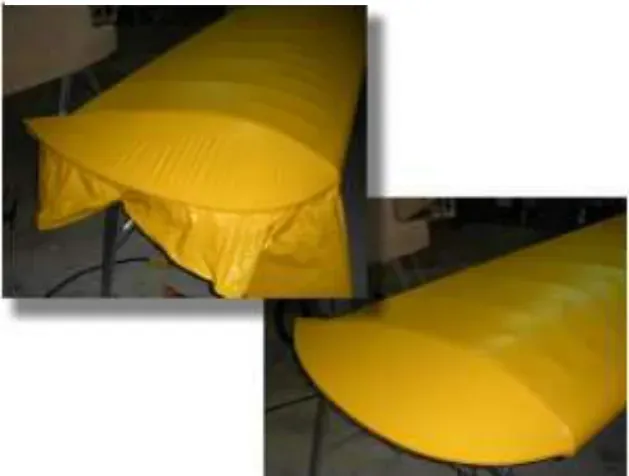
Opting for low weight with ease of installation, I chose Lanitz’ Oratex for covering my SK airframe. Oratex fabric comes in a variety of colors, and is bonded to the aircraft structure with a heat-activated adhesive. There’s no smell with the process, such that I was able to cover, stitch, and tape many parts right our dining room table.
Bonding and heat-shrinking Oratex require strict temperature control, and a digital iron and digital heat gun were used throughout the project. Strong hands are essential for pre-stretching Oratex around compound curves, as the shrink rate on heating is less than with Stits fabric. Pre-colored Oratex doesn’t have the gloss of conventional filled and sprayed fabric, but there’s a lot to be said for being DONE as soon as the last wrinkle has been flattened under the heated iron. Another tantalizing bonus is in the final weight savings of not having to dead-lift 1½ gallons of paint every time you coax your bird into the air.
As I write this, I’ve just been awarded N8879D, and have the plane packed up and ready for moving to a hangar. Just finding a hangar has become more difficult than airplane building, it seems, and has become a quest I hadn’t contemplated when I first started my project. My as yet unflown aircraft will need a lot of testing and tweaking, so nearby Jefferson County OS9 is really my only option. I’ve taken to walking the hangar rows every week or so, ready to jump on the first “for rent” sign I see.
Enjoy the pictures, and I promise to reply to any questions or corrections from my fellow experimenters. The question I hear most often is “How long did it take…?” I have yet to provide a straight answer to that one, as I don’t consider the project done until it actually leaves the ground. If I’m pushed, I’ll admit that I stopped tracking my project somewhere around 2000 hours. A significant portion of that was head-scratching and design work, as I discovered my real passion is in building and learning new skills. As a guy who originally trained in and would still prefer flying a Cub, my flying philosophy continues to be “Low and Slow.”
More photos
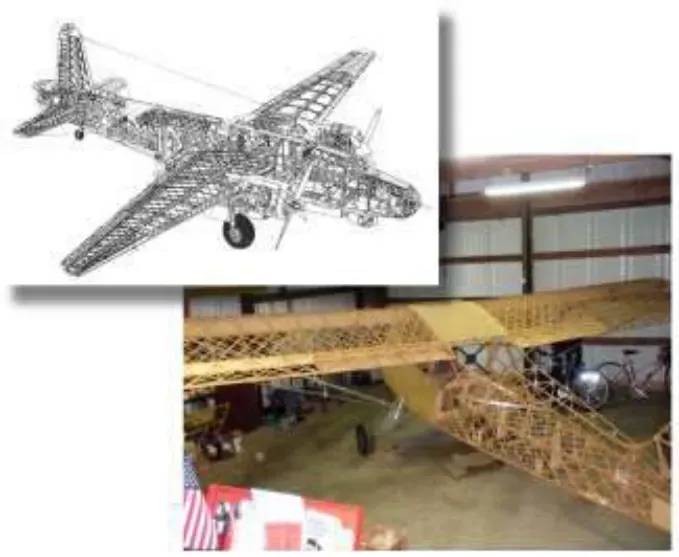 (opens a larger view)
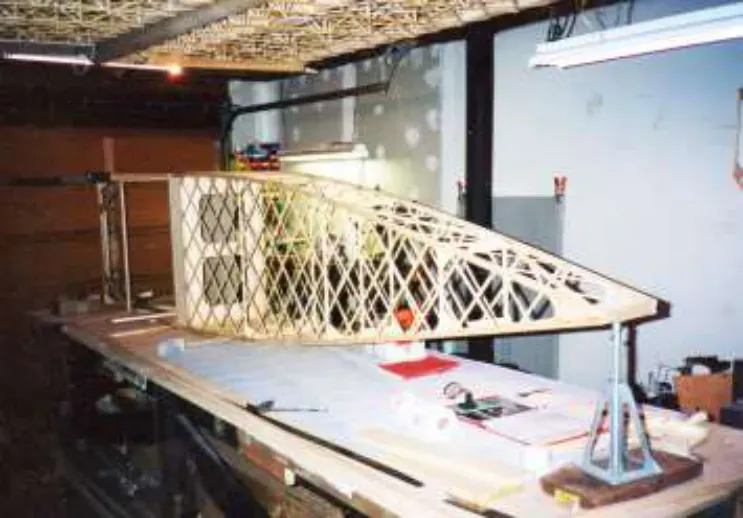 (opens a larger view)
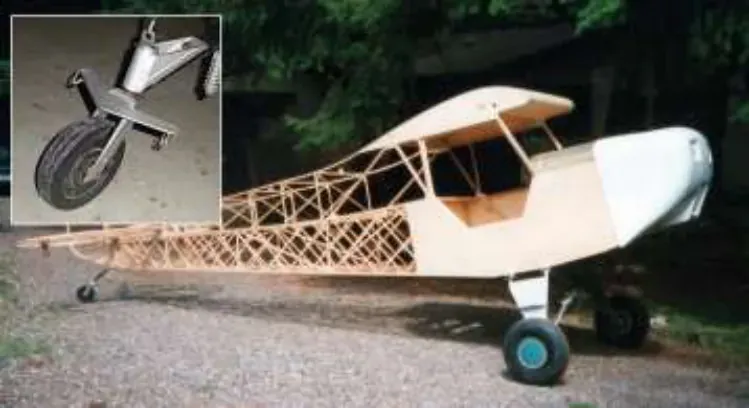 (opens a larger view)
 (opens a larger view)
 (opens a larger view)
 (opens a larger view)
 (opens a larger view)