 EAA Chapter 430
3D Printer Workshop
Open the PDF at page 6 See the whole February 2023 issue
July 30th, 2022, I announced to the chapter that I was donating a 3D printer, a Creality CR-10. I had used this printer to print 10’s of thousands of PPE parts for hospitals and front line workers in the region during the height of the COVID19 pandemic. Still a trusty printer, we had just moved here from Everett and I had a work benefit I needed to expend, I bought another printer and I needed to thin the herd. I coordinated with our tool shed chair, Rick Stoffel, where to put the printer for chapter use; I also needed to locate all its parts as a good portion of my man cave was/is still in boxes from our move.
Our Vice President, Rick Vaux was in negotiations with Sequim Museum Director Judy Stipe to have the Build and Fly program hosted at the Sequim Museum and Dr. Peter Becker who is attempting to get a maker program started at the museum. I don’t recall who brought up the idea, one of our board members suggested we may be able to home the 3d printer at the Sequim Museum. Over the next few months, I found all the printer parts, and we delivered the 3D printer. The next job was coming up with a program to demonstrate and teach our members how to design a model and print it.
Why would an experimental builder need access to a 3D printer? A number of things, Sonex builders have parts they can 3D print for position lights. R/C modelers can print nearly everything on the model. Tools to help you out with tight places, and…. aha! Let’s design a set of EAA 430 Young Eagle wings!
What do we need?
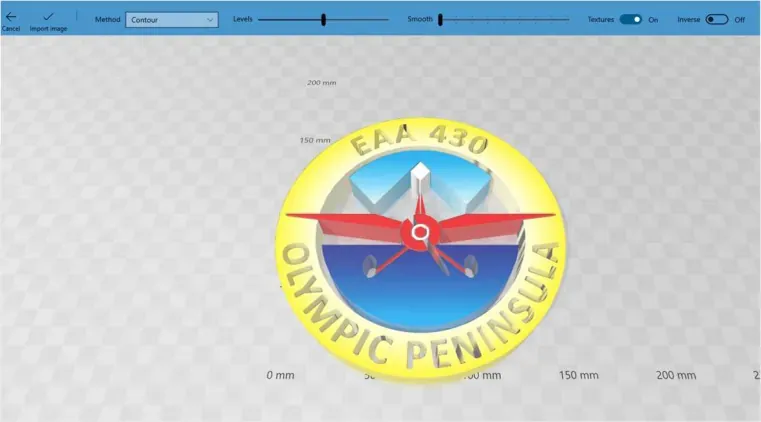
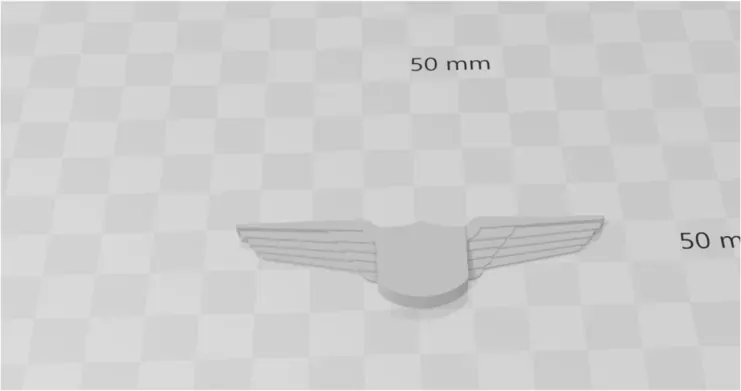
- We need a clear EAA 430 logo Our President Emeritus, Ken Brown found the high res graphics for the logo’s -Pilot wings model we can use for a base There’s lots of free pilot wing models, I found one on https://thingiverse.com to use.
- Something to design in that will import graphics Microsoft 3D builder, Fusion 360, Tinkercad are all free options, I’ll start with 3D Builder.
- A tool to take the 3d model we just designed and convert it to printer code (slicing to gcode)
Prusa Slicer will work just fine and it’s free -A functioning printer or two I have a couple of working printers and space to host the first volunteers -Some saps errr…. Students that want to be first through the workshop Dr. Peter Becker, Robert Ball, Rick Vaux and Harry Cook I put a stake in the ground, February 18th for the first workshop.
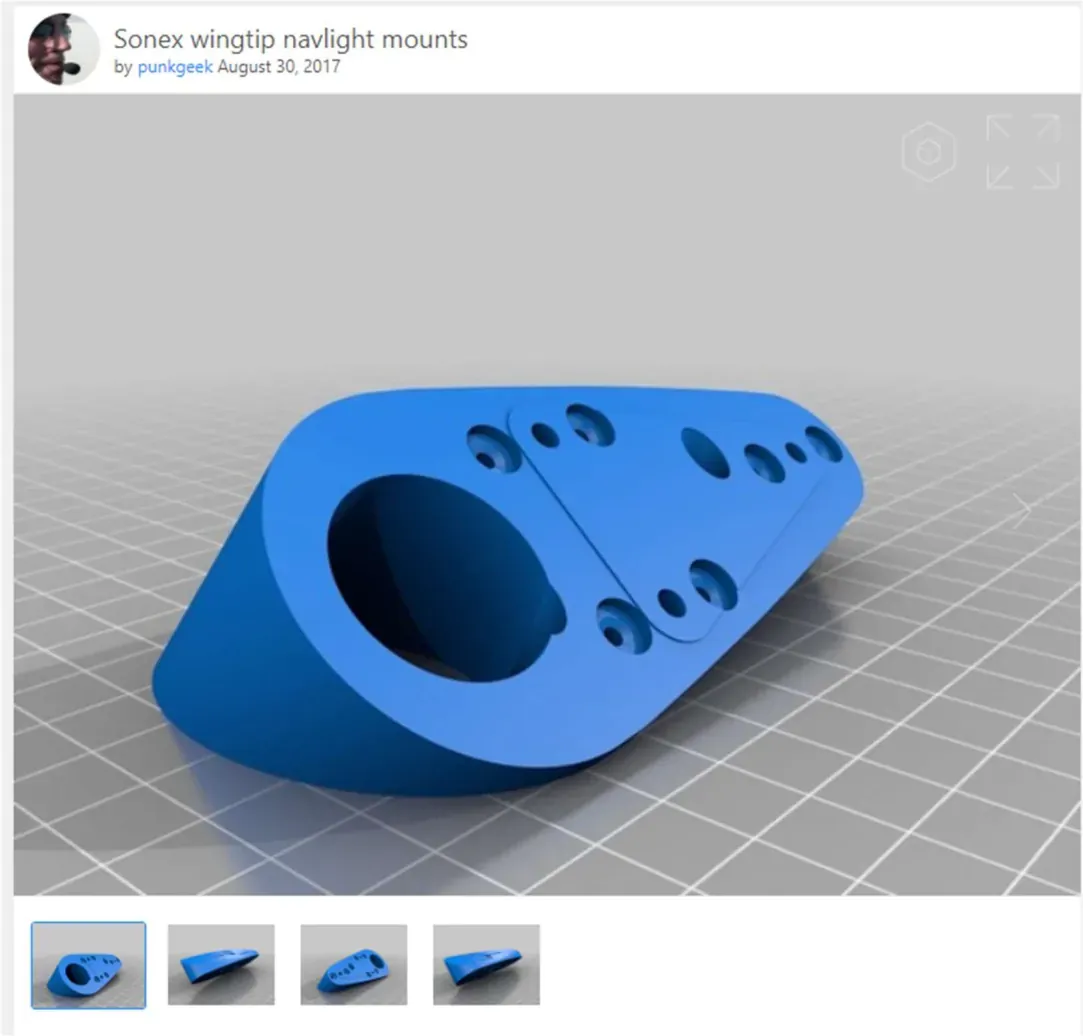
We started out by giving an overview of the material being covered through the day. I was going to be a packed day and that they would leave with their printed wings. However, before the workshop day I used a project Harry wanted completed. Wingtip light mounts:
I was able to print them out using a filament called PETG that is strong and has higher temperature tolerance over PLA.
After we discussed what we were going to learn through the day, I proceeded to describle the different kinds of printers, the printer components, the different kinds of filament and the different temperature requirements. Today, we were going to print using a common filament called PLA. We discussed calibration, demonstrating the most important calibrations, the bed leveling and whats called “z-offset”. I printed a first-layer calibration file, that showed a proper first layer then I uncalibrated the printer that demonstrated what will cause failed prints.
A few cups of espresso were also made in between sections then the newsletter editor showed up with some snacks.
After we went through the hardware, students were sufficiently caffeinated, it was time to move onto the software side to start developing a new set of wings. Everyone loaded up 3D Builder, Prusa Slicer and I shared the base wings model and logo.
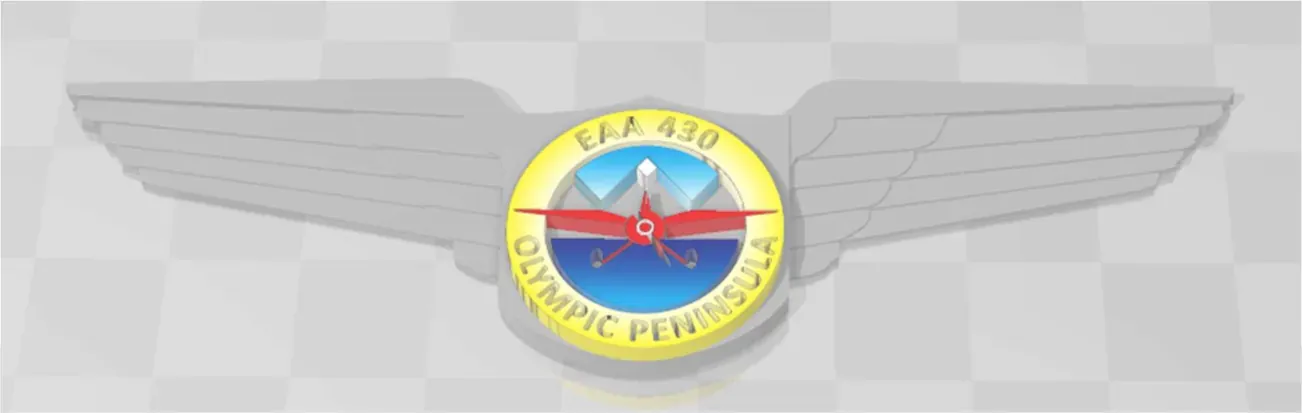
The imported logo and wings didn’t really match in size. We set the wing and logo sizes to match, put the logo on top of the wings and saved the model.
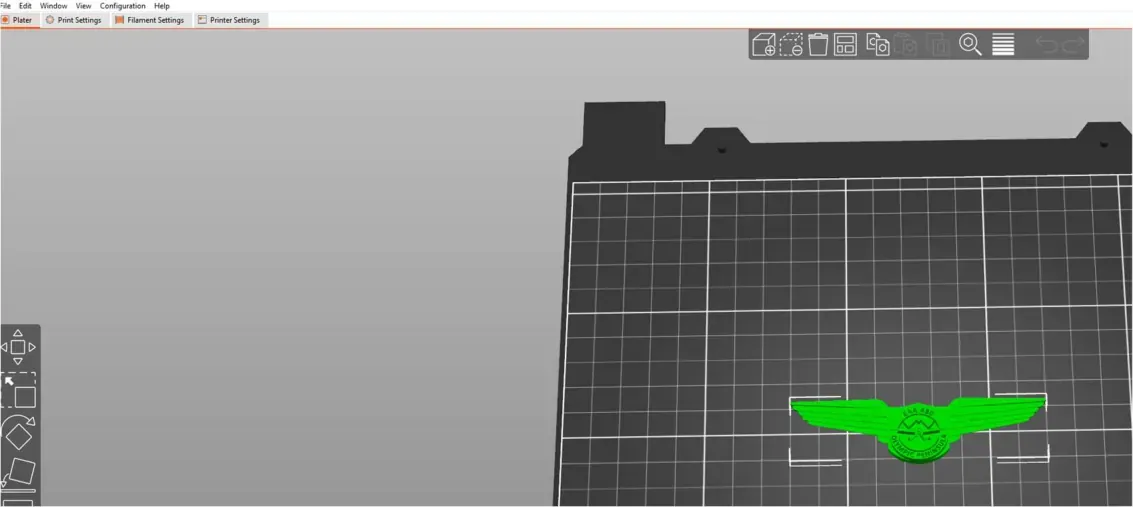
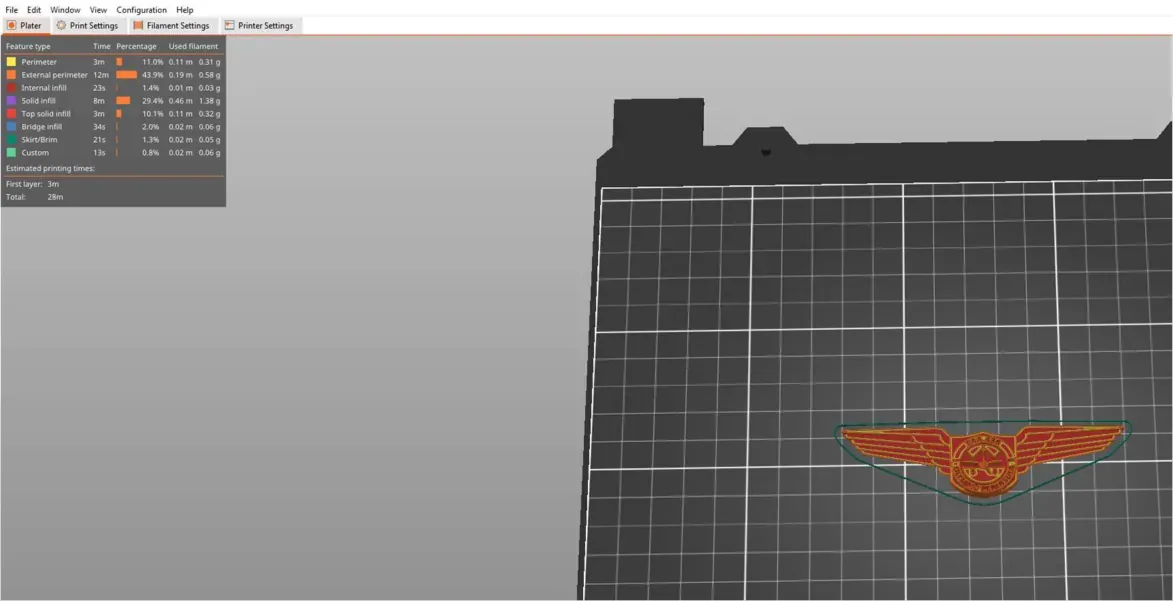
Once the model is sized, merged and saved, we imported them into the slicer (Prusa Slicer) to make a printable file. We walked through how to select the right printer model, filament, fill (quality), and temperatures.
Tell the slicer to slice!
After slicing, it’s as simple as saving the gcode file that is the output of the slicer, and send it to a remote controller called OctoPrint, or save to an sd card to connect to the printer.
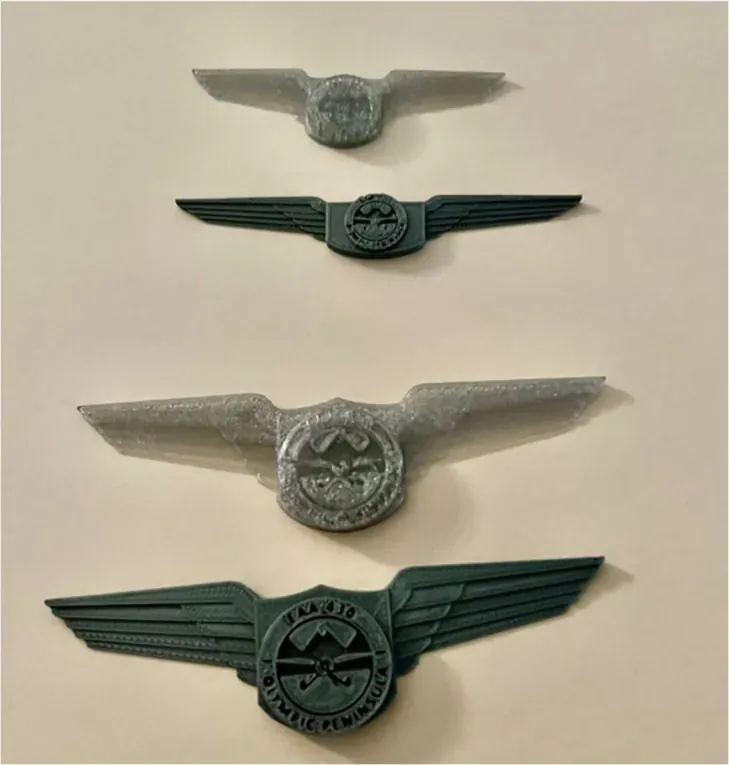
We tried with various sizes and colors I’ll schedule another workshop. I will like to continue to keep the workshops smaller as I work out the kinks. I will have a few seats open. Contact me (erik@425aerials.com) for a seat or to get on a waitlist if one is started. Here is what is covered and what you’ll need:
- Bring a laptop or just follow along over the shoulder of the group.
- Software you will need for modeling and printing:
- Our workshop will be using the free 3D Builder from Microsoft https://apps.microsoft.com/store/detail/3d-builder/9WZDNCRFJ3T6?hl=en-us&gl=us&rtc=1
- More complex models will require something like Solidworks (50% off license)
https://www.eaa.org/eaa/eaa-membership/eaa-member-benefits/solidworks-resource-center/eaa-solidworks-standard or Fusion 360 (free personal use license below)
https://www.autodesk.com/products/fusion-360/personal
- You will need whats called a slicer, Prusa Slicer is free and works great https://www.prusa3d.com/page/prusaslicer_424/ -Simple modeling Young Eagle wings created from an existing model that will be modified with our personalization.
- Types of 3D printers
- Printer components
- Filament choices
- Printer Calibration
- Troubleshooting
- Printing
- I’ll have you send your print to one of my printer controllers and kick them off. I’ll be able to monitor and bring them to a gathering or have the prints available for you pick up.
- Once you’ve completed printing here, you should be able to print on the printer at the Museum.